
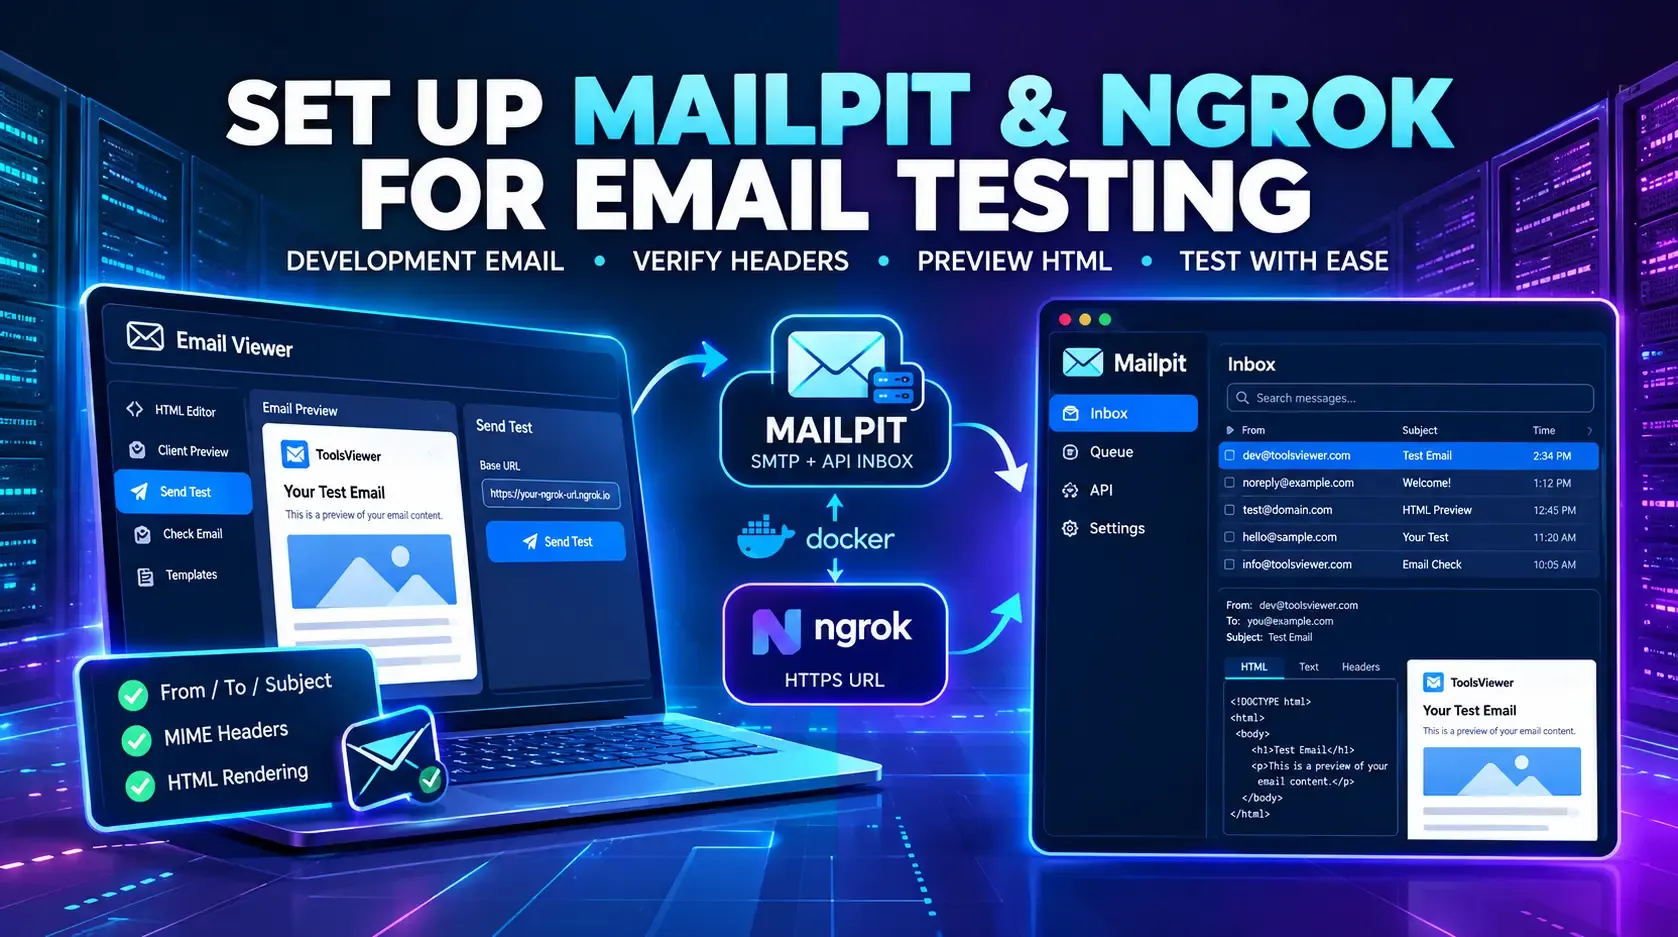
Real inbox sends are slow and noisy when all you need is to check MIME headers, From/To/Subject values, and how your HTML actually renders. A faster QA loop runs Mailpit in Docker as a private catch-all SMTP + API inbox, exposes it with ngrok, and then uses Email Viewer's Send test email action to deliver your current preview HTML straight into that inbox — no Gmail, Outlook, or ESP account required.
Think of this as a lightweight email tester setup for early-stage QA: not a full deliverability lab, but a fast, private catcher you fully control. You iterate on HTML or MJML, preview client simulations in the browser, send a test email into Mailpit, and confirm transport headers and rendered body before anything reaches a real mailbox.
This guide stays product-honest. Email Viewer does not host Mailpit, does not send through Gmail, and does not relay mail through Tools Viewer servers. You run the catcher on your own machine, publish an HTTPS URL with ngrok, and Email Viewer posts only to the Base URL you paste into Send test.
What You Will Set Up
Plan on about fifteen minutes for the first setup. After Docker and ngrok are installed, restarting the stack for a later session usually takes under a minute. You will:
- Install Docker Desktop (or Docker Engine).
- Run the official `axllent/mailpit` image with CORS enabled so the browser can call Mailpit's HTTP API.
- Expose Mailpit with ngrok (HTTPS) and paste that URL into Send test → Base URL.
- Open Email Viewer → Send test, confirm From / To / Subject, and send.
- Review the message in Mailpit's web UI and in Email Viewer's Check email → Headers tab.
Keep a browser tab open on Mailpit's web UI while you work. Each successful Send test appears as a new message you can open, search, and delete — the same habit you would use with any development email catcher.
Why Use Mailpit for Development Email
Paid inbox labs and ESP seed lists still matter for campaign-critical rendering and deliverability testing. Day to day, though, most template work is about structure: subject lines, From display names, multipart HTML vs. plain text, merge-tag output, and whether the HTML you previewed is the HTML that actually left the editor.
Mailpit gives you that feedback without creating spam noise in a real inbox and without waiting on ESP sandboxes. Pair it with Email Viewer's HTML email preview, client simulations, dark-mode checks, and pre-send QA report, and you catch most early defects before paying for a full mail tester suite run.
If your real goal is closer to sending HTML email via Gmail to an actual recipient, finish QA here first, then send from your ESP or Gmail. Email Viewer previews Gmail-style layouts and can send a test into Mailpit — it does not authenticate to Gmail or place messages in a Gmail Sent folder.
Step 1: Install Docker
Mailpit runs as a small container, so you need Docker installed to start it with a single command and keep it running while you edit templates.
- Get Docker — official installers for macOS, Windows, and Linux
- Docker Desktop is the usual choice on Mac and Windows
After installing, confirm the daemon is running — `docker version` should show a Server section. If that block is missing, start Docker Desktop and wait until it reports the engine is ready.
Step 2: Download and Run Mailpit
Mailpit is an open-source email testing tool with a web UI, SMTP on port 1025, and a REST API on port 8025. You can browse captured messages, view HTML and text parts, and inspect headers without installing a desktop mail client.
Official resources:
- Mailpit home
- Official Docker install docs
- Docker Hub: axllent/mailpit
- GitHub: axllent/mailpit
- Mailpit API v1
Email Viewer uses the HTTP API path (port 8025, via your ngrok URL) because browsers cannot speak SMTP directly. Other apps and CLIs on your machine can still deliver to SMTP port 1025 if you want a second way to feed the same inbox.
Recommended Docker Run (With CORS)
Email Viewer calls Mailpit from your browser, so CORS needs to be enabled for the Send API to accept those requests. The command below starts a named container, publishes both ports, and turns on a permissive CORS allow-list suitable for local QA:
docker run -d \
  --name mailpit \
  -p 8025:8025 \
  -p 1025:1025 \
  -e MP_API_CORS="*" \
  axllent/mailpit
For a tighter allow-list, set `MP_API_CORS="www.toolsviewer.com"` instead of ``. Restart the container after changing environment variables so the new CORS value is picked up. If Send test reports a network or CORS failure, check this flag first — it's the most common setup miss.
Docker Compose Example
If you already keep local services in a single file, Compose works too. This example mirrors the docker run flags and adds a higher message retention limit for longer QA sessions:
services:
  mailpit:
    image: axllent/mailpit
    container_name: mailpit
    restart: unless-stopped
    ports:
      - "8025:8025"
      - "1025:1025"
    environment:
      MP_API_CORS: "*"
      MP_MAX_MESSAGES: "5000"
Then run docker compose up -d. Confirm the container is running in Docker Desktop (ports 8025 and 1025), and open the Mailpit UI in your browser to verify the inbox loads before starting ngrok.
Step 3: Connect Mailpit With ngrok
Email Viewer needs an HTTPS Mailpit URL that the browser can reach. Use ngrok to create a tunnel to Mailpit's API port (8025), then paste that HTTPS URL into Send test → Base URL. That's the supported path: Mailpit on your machine, an HTTPS tunnel, and the Base URL pasted into Email Viewer.
- Install ngrok from the download page and sign in (the free tier is enough for QA).
- With Mailpit already running, start a tunnel:
ngrok http 8025 - Copy the HTTPS forwarding URL (for example,
https://abc123.ngrok-free.app). - In Email Viewer → Send test, set Base URL to that HTTPS address (no trailing path), then click Test connection.
Keep the ngrok process running while you send tests, and stop the tunnel once you're done so the temporary URL is no longer reachable. Do not leave an open Mailpit tunnel on a shared or untrusted network without authentication.
Email Viewer sends the ngrok-skip-browser-warning header automatically so free-tier interstitial pages don't break the API. If Test connection still fails, refresh the ngrok URL — free tunnels can rotate when you restart the process — and paste the new HTTPS address into Base URL again.
Step 4: Send a Test Email From Email Viewer
With Mailpit and ngrok healthy, load the template you want to verify. You can paste HTML, or import an .eml proof, then send the current preview HTML into your catcher.
- Open Email Viewer and load your HTML template.
- Click Send test in the sidebar.
- Paste your ngrok HTTPS URL as the Mailpit Base URL. Confirm From, To, and Subject, then use Test connection for a quick health check.
- Click Send to Mailpit. Email Viewer posts to your Mailpit endpoint only — not to Tools Viewer servers.
Choose From and Subject values that match what you expect in production so the header review is meaningful. The To address can be any mailbox name Mailpit will accept — it doesn't need to be a real recipient, since Mailpit captures the message locally.
Step 5: Inspect Headers in Check Email
After a successful send, Email Viewer opens Check email → Headers with the MIME headers returned by Mailpit (Date, From, To, Subject, Message-Id, and more). You can also open the message in Mailpit's UI directly from that tab.
Use the header table to confirm encoding on the subject, the From display name, and that the multipart structure looks correct before promoting the template. Then open the HTML part in Mailpit and compare it with the live preview you already reviewed in Email Viewer — mismatches usually mean you sent an older.
What to Verify After Each Send
A useful development email loop is short and repeatable. After every Send test, check these items before you touch the template again:
- Subject and From — display name and encoding match the dialog values you intended.
- HTML body — images, buttons, and spacing match the Email Viewer preview, with no leftover merge-tag placeholders.
- Plain-text part — if you generate one, skim it for missing links or broken line breaks.
- Links — open key CTAs from the captured message itself, not only from the editor preview.
- Dark mode and client sims — still run these in Email Viewer; Mailpit confirms transport, not every client rendering quirk.
For a fuller pre-send pass, follow the email QA checklist after the Mailpit smoke test succeeds.
Why This Approach Works
Teams adopt this Mailpit + ngrok + Email Viewer path because it's private, cheap to restart, and honest about what it actually proves. You get transport and header confidence without an ESP account, and template HTML stays under your control in the browser.
- No ESP required for day-to-day header and HTML smoke tests.
- Honest privacy — Tools Viewer never receives the message; only your Mailpit endpoint does.
- Same workflow as production-minded QA — verify subject encoding, From display, and multipart HTML/text, then run the local QA / HTML Check tabs before a real ESP send.
- Fits early mail tester needs — enough signal to catch broken templates before you spend time in paid inbox labs.
Client simulations in Email Viewer are still not native inboxes. Use Mailpit for transport and header confidence, then move to litmus-style or ESP previews when a campaign is critical. That combination keeps development email fast without pretending one tool replaces every QA surface.
Troubleshooting
Most Send test failures are environment setup issues, not template bugs. Work through this list in order:
- Confirm the Mailpit container is running and the web UI loads before touching Email Viewer.
- Confirm
MP_API_CORSis set and the container was restarted after any change. - Confirm ngrok is still running and the Base URL matches the current HTTPS forwarding address with no path suffix.
- Use Test connection in the Send test dialog before sending the full message.
- If the dialog succeeds but the inbox looks empty, refresh Mailpit — filters or an older tab can hide the newest message.
- If connection checks pass but the HTML looks wrong, the issue is usually the draft in the editor — recheck MJML if you use it, re-run CSS inlining if that's part of your pipeline, then send again and compare the new Mailpit message to the previous one.
Try It Yourself
If you want to see this in action, HTML Email Builder and MJML Email Builder lets you preview html and mjml templates, run client simulations, and send a test straight into your own Mailpit catcher — no sign-up, no Gmail login, and no third-party inbox. It's built for exactly the workflow described above: preview, send to Mailpit, check headers, repeat.
FAQs
Is Mailpit free to use for email testing?
Does Email Viewer send my test email through Gmail or an ESP?
Why do I need ngrok if Mailpit already runs locally?
localhost:8025 from a hosted web app due to browser security restrictions. ngrok publishes an HTTPS URL that tunnels back to your local Mailpit instance, letting Email Viewer's Send test feature reach it securely.What does the MP_API_CORS setting actually do?
* or your specific domain, Send test requests from Email Viewer will fail with a CORS error even if the ngrok tunnel is working correctly.